What is Balbaz ransomware? And how does it attack your computer?
Balbaz ransomware is a file-encrypting threat created using the open source platform, HiddenTear. Once it infiltrates your computer, it will create an index file containing the information on all the files it’s going to target. These files are commonly the ones generated by the user such as photos, music, video, Microsoft documents, Adobe Photoshop, and a whole lot more. On the encryption, it uses the AES encryption algorithm in appending .WAmarlocked extension to make your files unreadable. Besides encrypting your files, Balbaz also deletes the Shadow Volume copies of the affected files, making its recovery even more difficult than it already is. Because the thing is, if your files are encrypted, one of the easiest ways to recover them without paying a cent is through the Windows Previous Versions feature in Windows which allows you to restore your files on its original state. With the Shadow Volume copies gone, decrypting your files will be next to impossible. Your only salvation would be is the backup copies of your files, IF you even created such. The malware deletes the Shadow Volume copies by executing this command:
vssadmin.exe delete shadows /all/
Quit
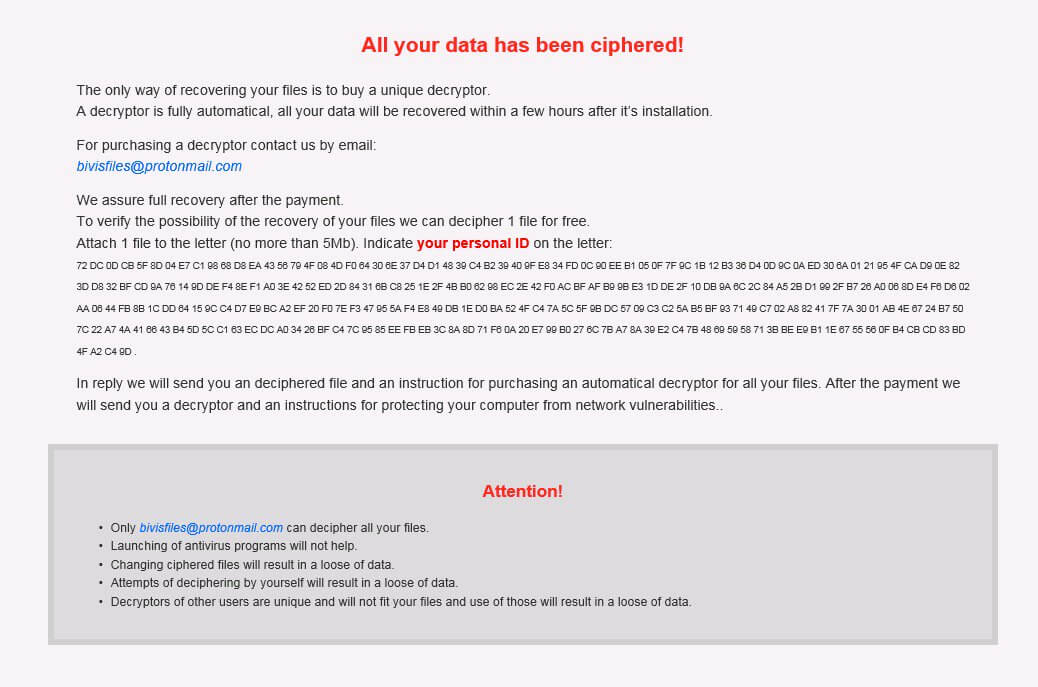
After the encryption, Balbaz ransomware delivers its ransom note in a file named READ_IT.txt which is placed on your desktop. As you can probably see on the screenshot above, its ransom note is based on the WanaCrypt0r ransomware which was a high profile ransomware released earlier in 2017. The ransom note is also delivered in a program window named Ransomware BALBAZ 1.00. It directs you a payment portal hosted in the Dark Wen, rewuiring TOR to connect. The ransom amount does not really vary but it may cost around 2000 up to 3000 USD. Malware experts strongly advise you against paying the ransom no matter the cost. The wisest thing you can do is to try some alternative solutions to get rid of the ransomware.
How does Balbaz ransomware employ its malicious infection?
This crypto-malware has already infected several users in the United States. However, it turns out that United States is not the only one of its receiving end for the Balbaz attacks were also reported in Hungary and Bulgaria. Like all the HiddenTear variants, Balbaz distributes its malicious payload through spam emails. According to our researchers, its developers created an email server that sends the emails with infected files to a list of obtained email addresses. These emails are often disguised as invoices, receipts and whatnot to lure users into opening the email and downloading the attachment.
To avoid getting infected with this dangerous threat ever again, make sure that you stir clear of any suspicious emails by deleting them as soon as you see them in your inbox. It would also be better if you create extra copies of your important files and store them in a different location. In addition, keeping your system and antivirus program updated would strengthen your computer’s resistance against these kinds of infections.
To eliminate Balbaz ransomware, as well as its malicious files, follow these removal instructions.
Step 1: Open the Windows Task Manager by pressing Ctrl + Shift + Esc at the same time. Proceed to the Processes tab and look for suspicious processes that can be related to the Balbaz Ransomware.

Right-click on the processes, then click Open File Location and scan them using a powerful and trusted antivirus like SpyRemover Pro. After opening their folders, end their processes and delete their folders. If the virus scanner fails to detect something that you know is suspicious, don’t hesitate to delete it.
Step 2: Open Control Panel by pressing Start key + R to launch Run and type appwiz.cpl in the search box and click OK.

Step 3: Look for Balbaz ransomware or any peculiar program and then Uninstall it.

Step 4: Hold down Windows + E keys simultaneously to open File Explorer.
Step 5: Navigate to the following paths.
- %HOMEDRIVE%\user\Rand123
- %HOMEDRIVE%\user
- %AppData%
- %USERPROFILE%\Downloads
- %USERPROFILE%\Desktop
Step 6: After that, look for the following files and delete each one of them.
- exe
- png$
- jpg$
Step 7: Close the File Explorer
The next step below is not recommended for you if you don’t know how to navigate the Registry Editor. Making registry changes can highly impact your computer. So it is highly advised to use PC Cleaner Pro instead to get rid of the entries that Balbaz ransomware created. So if you are not familiar with the Windows Registry skip to Step 12 onwards.
However, if you are well-versed in making registry adjustments, then you can proceed to step 8.
Step 8: Open the Registry Editor, to do so, tap Win + R and type in regedit and then press enter.
Step 8: Navigate to the path below:
HKCU\Control Panel\Desktop
Step 9: Under the path given above, look for the wallpaper subkey and right click on it and click Modify.
Step 10: Delete C:\\user\\ransom.jpg from the value data line.
Step 11: Close the Registry Editor.
Step 12: Empty the Recycle Bin.
Follow the continued advanced steps below to ensure the removal of the Balbaz ransomware:
Perform a full system scan using SpyRemover Pro. To do so, follow these steps:
- Turn on your computer. If it’s already on, you have to reboot

- After that, the BIOS screen will be displayed, but if Windows pops up instead, reboot your computer and try again. Once you’re on the BIOS screen, repeat pressing F8, by doing so the Advanced Option shows up.
- To navigate the Advanced Option use the arrow keys and select Safe Mode with Networking then hit
- Windows will now load the Safe Mode with Networking.
- Press and hold both R key and Windows key.

- If done correctly, the Windows Run Box will show up.
- Type in explorer http://www.fixmypcfree.com/install/spyremoverpro
A single space must be in between explorer and http. Click OK. - A dialog box will be displayed by Internet Explorer. Click Run to begin downloading SpyRemover Pro. Installation will start automatically once download is done.

- Click OK to launch SpyRemover Pro.
- Run SpyRemover Pro and perform a full system scan.

- After all the infections are identified, click REMOVE ALL.

- Register SpyRemover Pro to protect your computer from future threats.